Recently I got my hands on Oculus Quest 2, now called Meta Quest 2 or simply Quest 2. As I started to setup the development environment, I saw some concerning posts across the internet. It was that you need Windows PC for oculus 2 development. Being a Macbook Pro owner my preference was always to work in macos rather than windows or bootcamp based windows. So here are the steps you need to follow to setup your environment and have your first Unity app running on Quest 2.
Minimum Requirements
Here are the recommended minimum system requirements to start your development:
- macOS: 10.10+ (x86 only)
- 2.0+ GHz processor
- 4.0 GB system ram
Install Android Studio
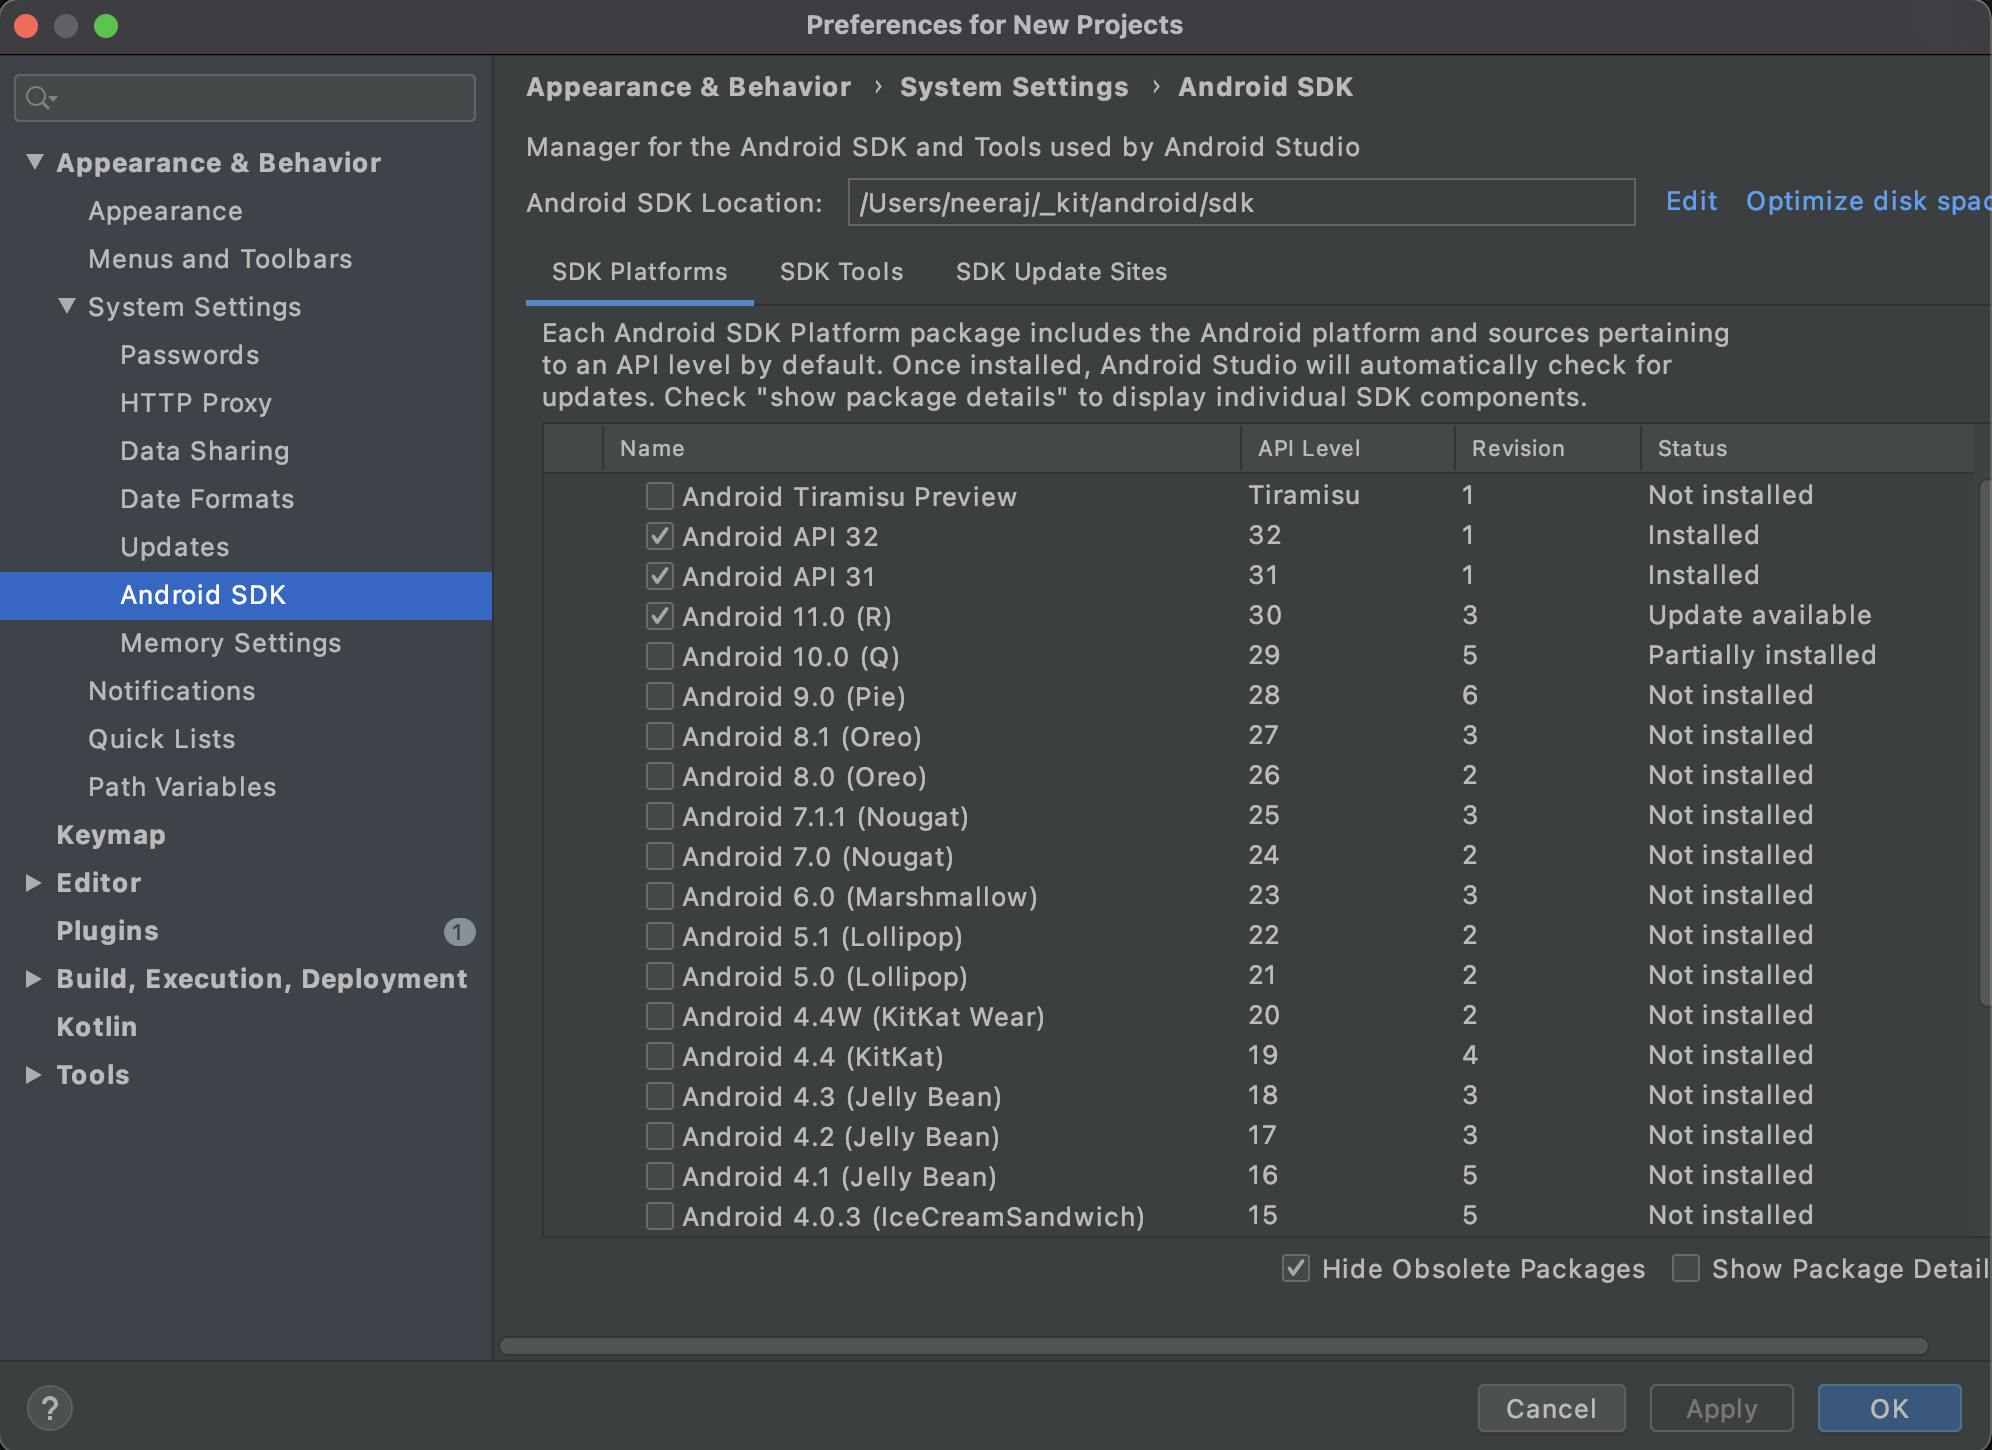
As Quest 2 is an android based device, you will need the android tools to develop and deploy on the VR set. Here are the steps to setup your android environment.
- Download and Install Android Studio from developer.android.com
- Goto Preferences -> Appearances & Behaviour -> System Settings -> Android SDK
- Open SDK Platforms Tab.
- Select the latest SDK Platform and click on install.
Install and Run Unity
According to the oculus documentation, we can develop apps for the device using any of the following platforms:
- Native Platforms - Android
- Unreal Integrations
- Unity Integrations
For this tutorial we will be the Unity platforms. Here are the steps to install Unity.
- Download and Install UnityHub from unity website: unity.com
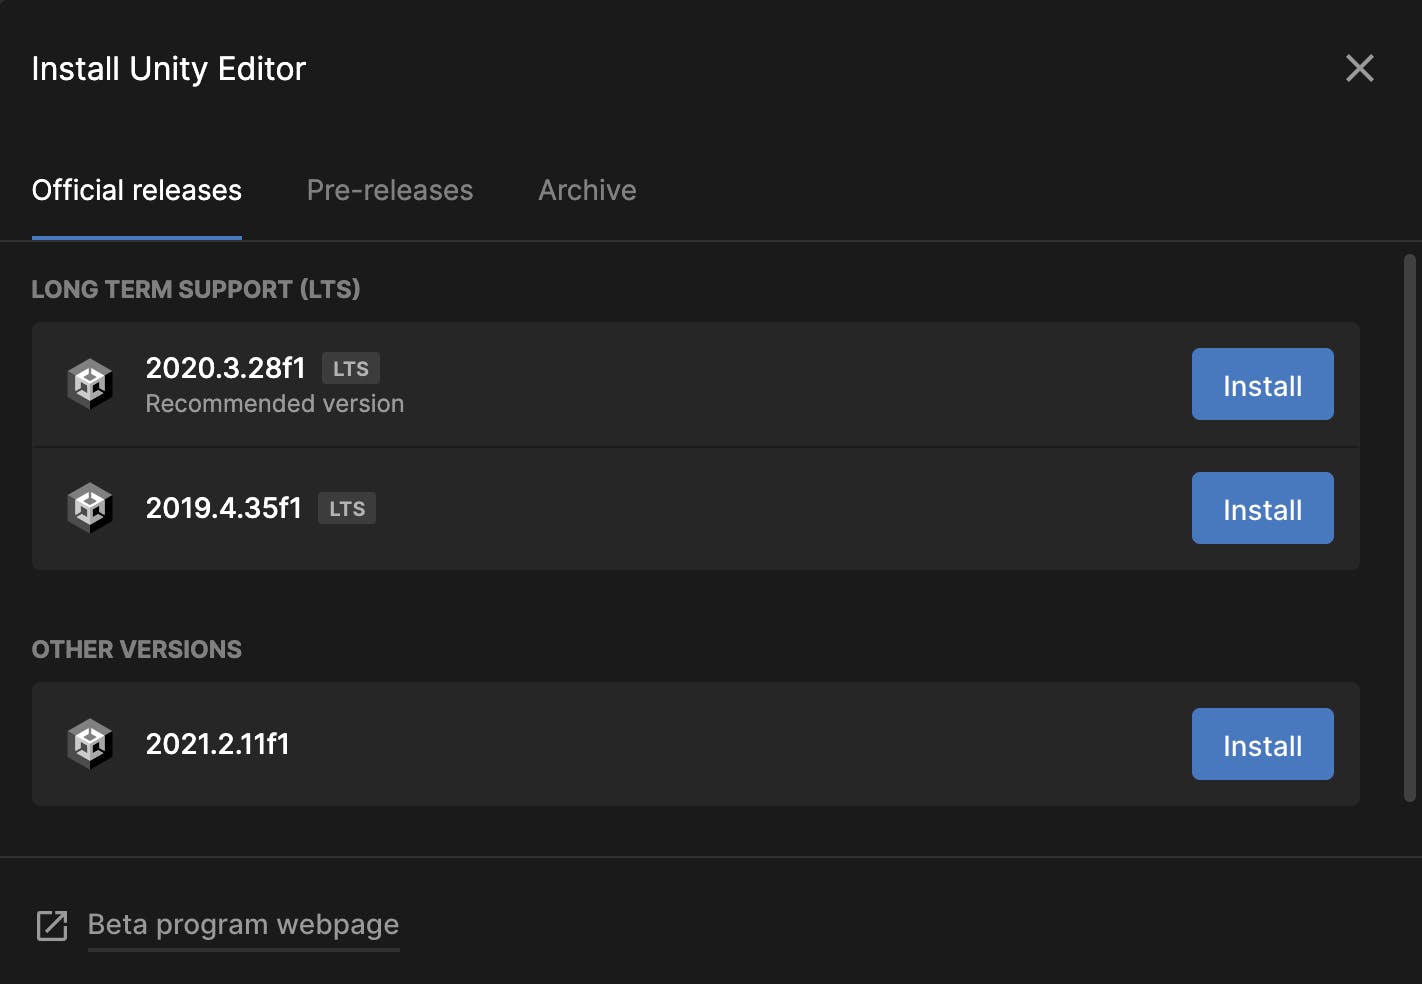
- Click on Install Editor button.
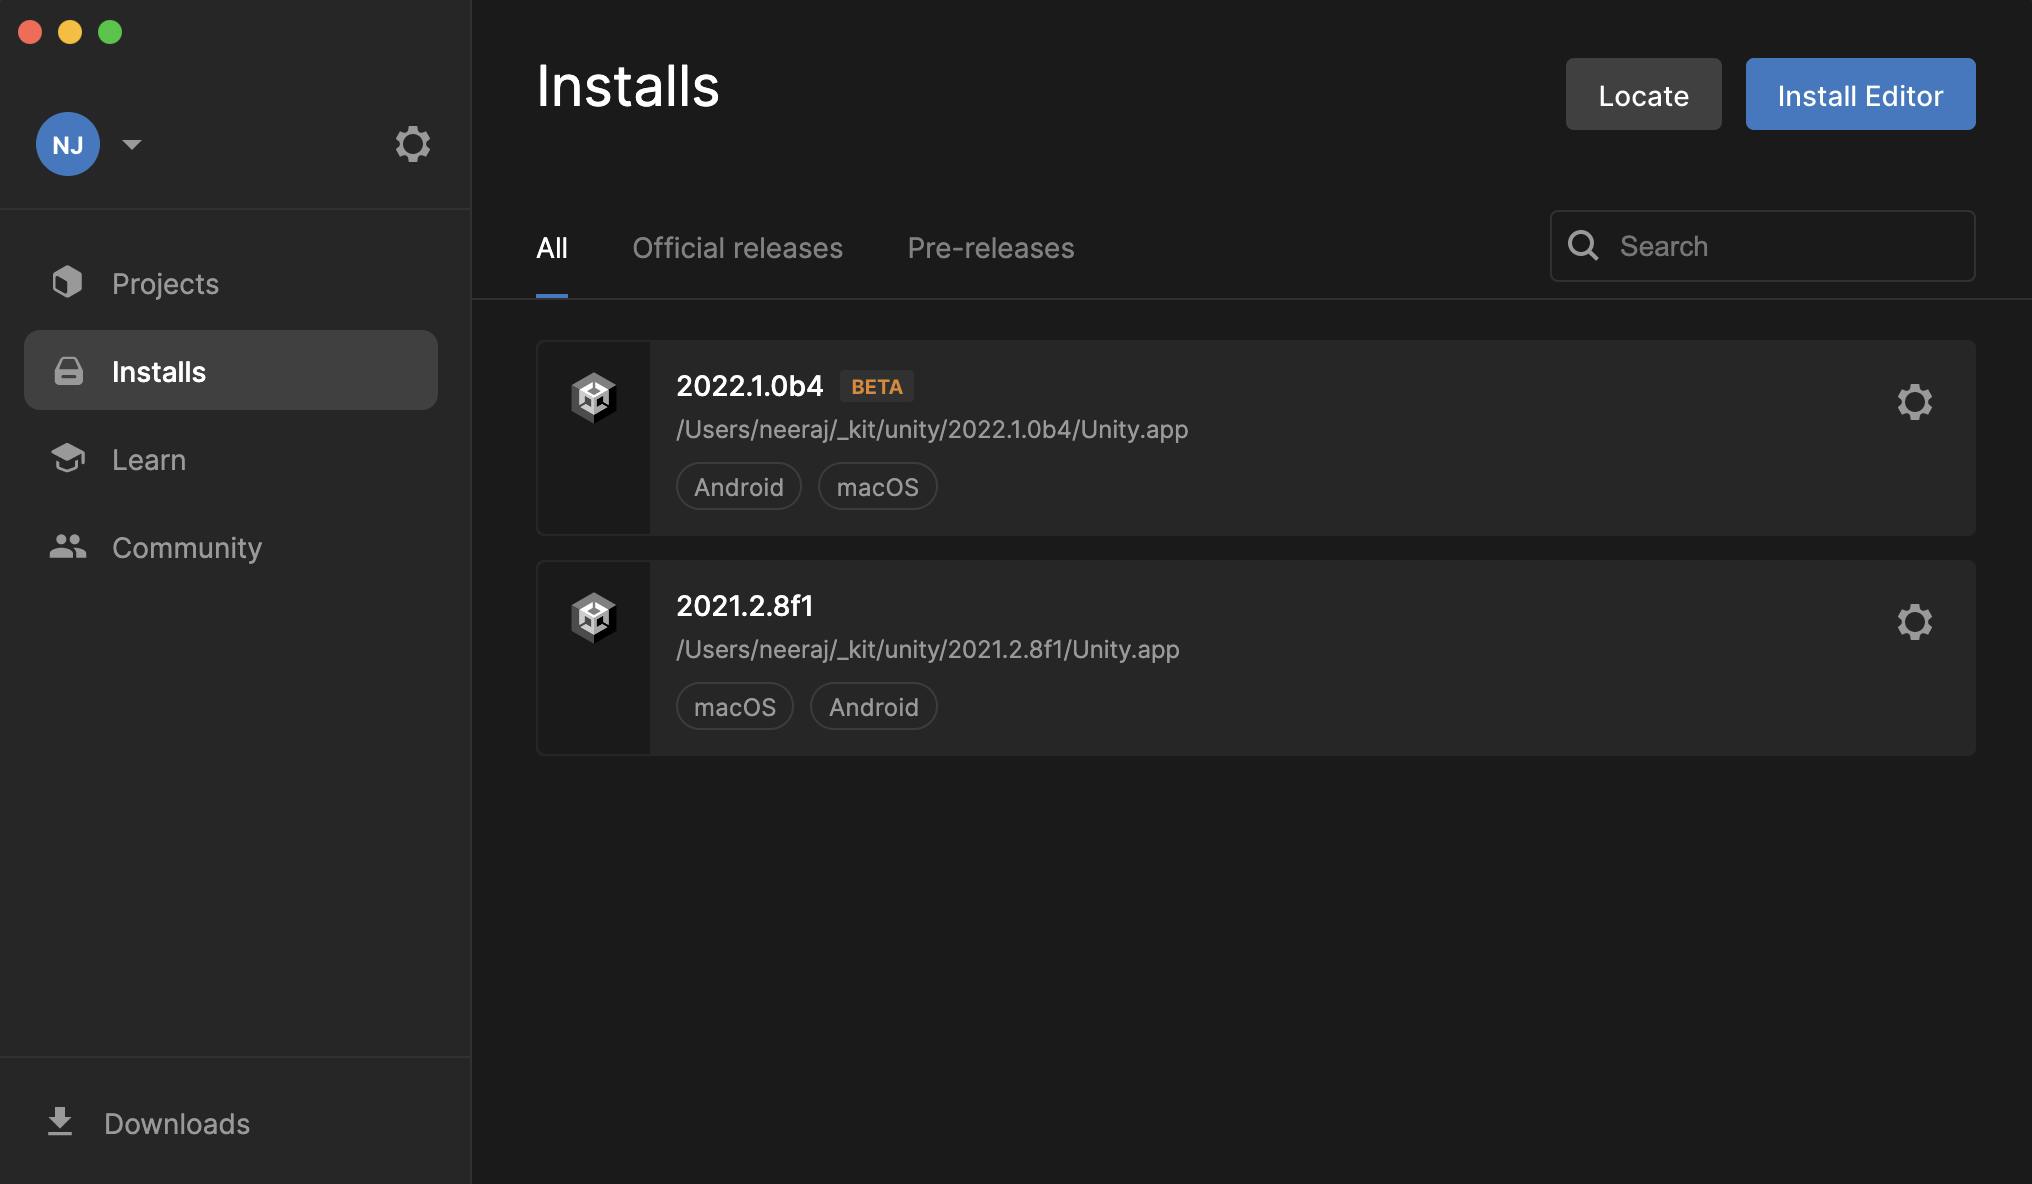
- Download and Install the latest stable release.
- Make sure you have selected all components in Android Build Support.
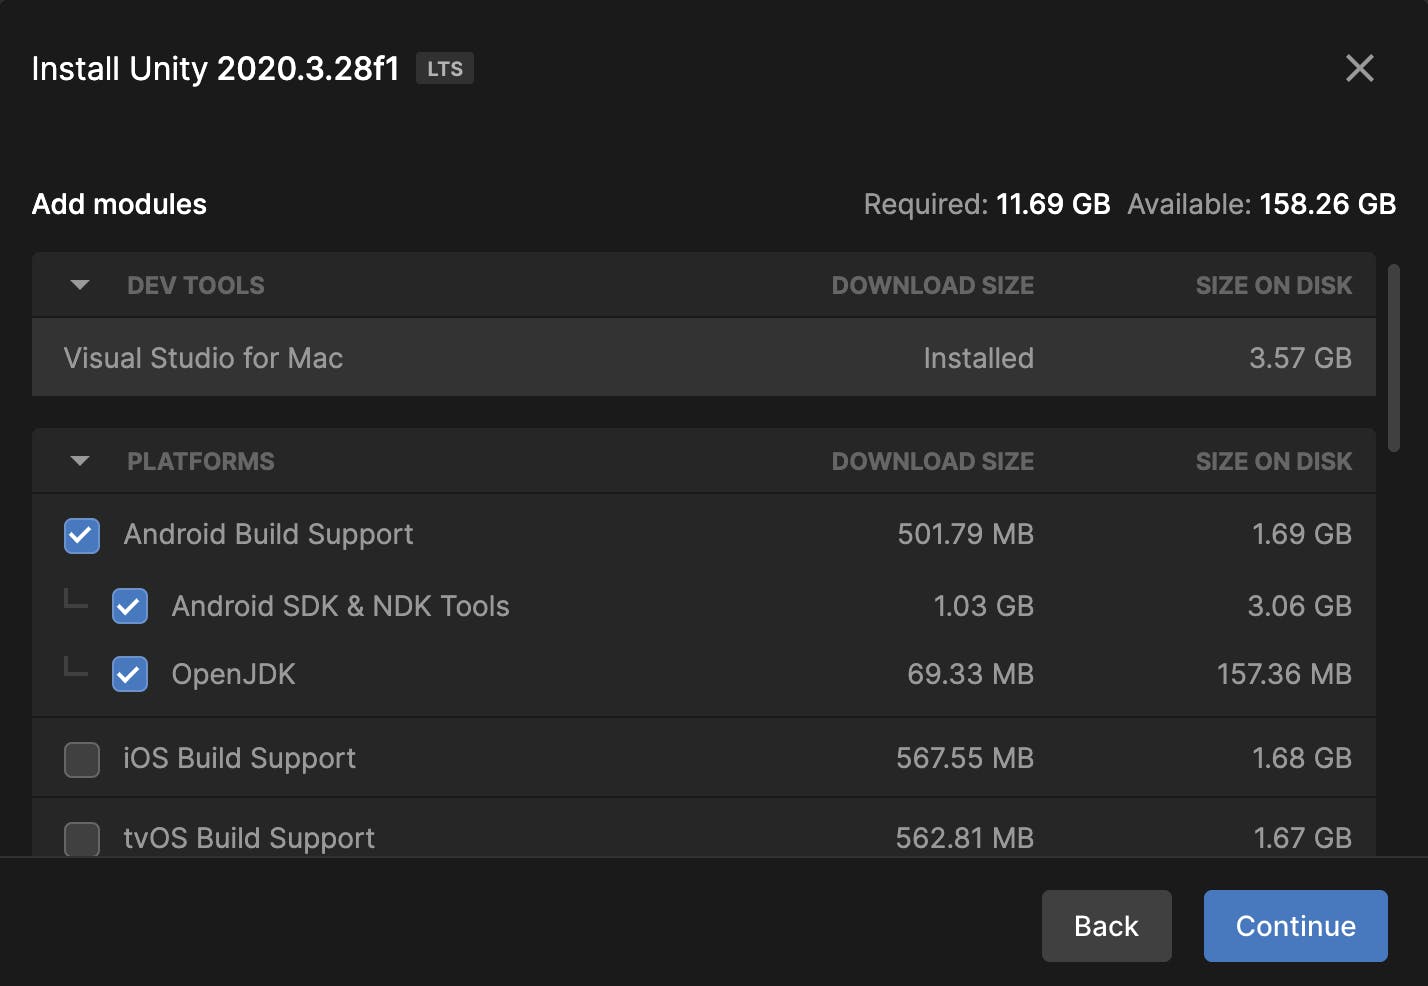
- Now click on continue and complete the installation process.
Setup Organization
Join an Existing Organization
To join an existing organization, follow these steps:
- You’ll need to request access to the existing organization from the admin.
- You’ll receive an email invite. Once accepted, you’ll be a member of the organization.
Create a New Organization
To create a new organization, follow these steps:
- Go to developer.oculus.com/manage/organizations/c...
- Fill in the appropriate information.
Verify your Account
- Go to developer.oculus.com/manage/verify.
- If prompted, login with your Oculus Developer account.
- Verify your account with one of the two following options:
- Confirm your mobile number to set up SMS two-factor verification, please visit FB Help Center to ensure that your country and phone carrier are supported for SMS.
- Add a payment method to your account (Paypal excluded).
Unlock Developer Mode on Quest 2
Once you belong to a developer organization, follow these steps to put your device in developer mode:
- In your headset, sign into the developer account you want to use for development.
- Go to Devices in the Oculus mobile app.
- Select your headset from the device list and wait for it to connect.
- Select Developer Mode.
- Turn on Developer Mode.
- Connect your headset to the computer using a USB-C cable and wear the headset.
- Accept Allow USB Debugging and Always allow from this computer when prompted on the headset.
Create new Project
- Open Unity from Unity Hub.
- Click on New Project.
- Enter a name for your project.
- Change your Template to "3D"
- Choose the folder location.
- Click on Create Project.
- Unity Editor will open with a Sample Scene.
Setup Oculus Plugin
Right now the Unity project will run on Mac and an android phone. But we need to c configure additional settings for it to run on Quest 2.
- Open Build Settings->Player Settings.
- Goto XR Project Management.
- Install XR Plugin Management.
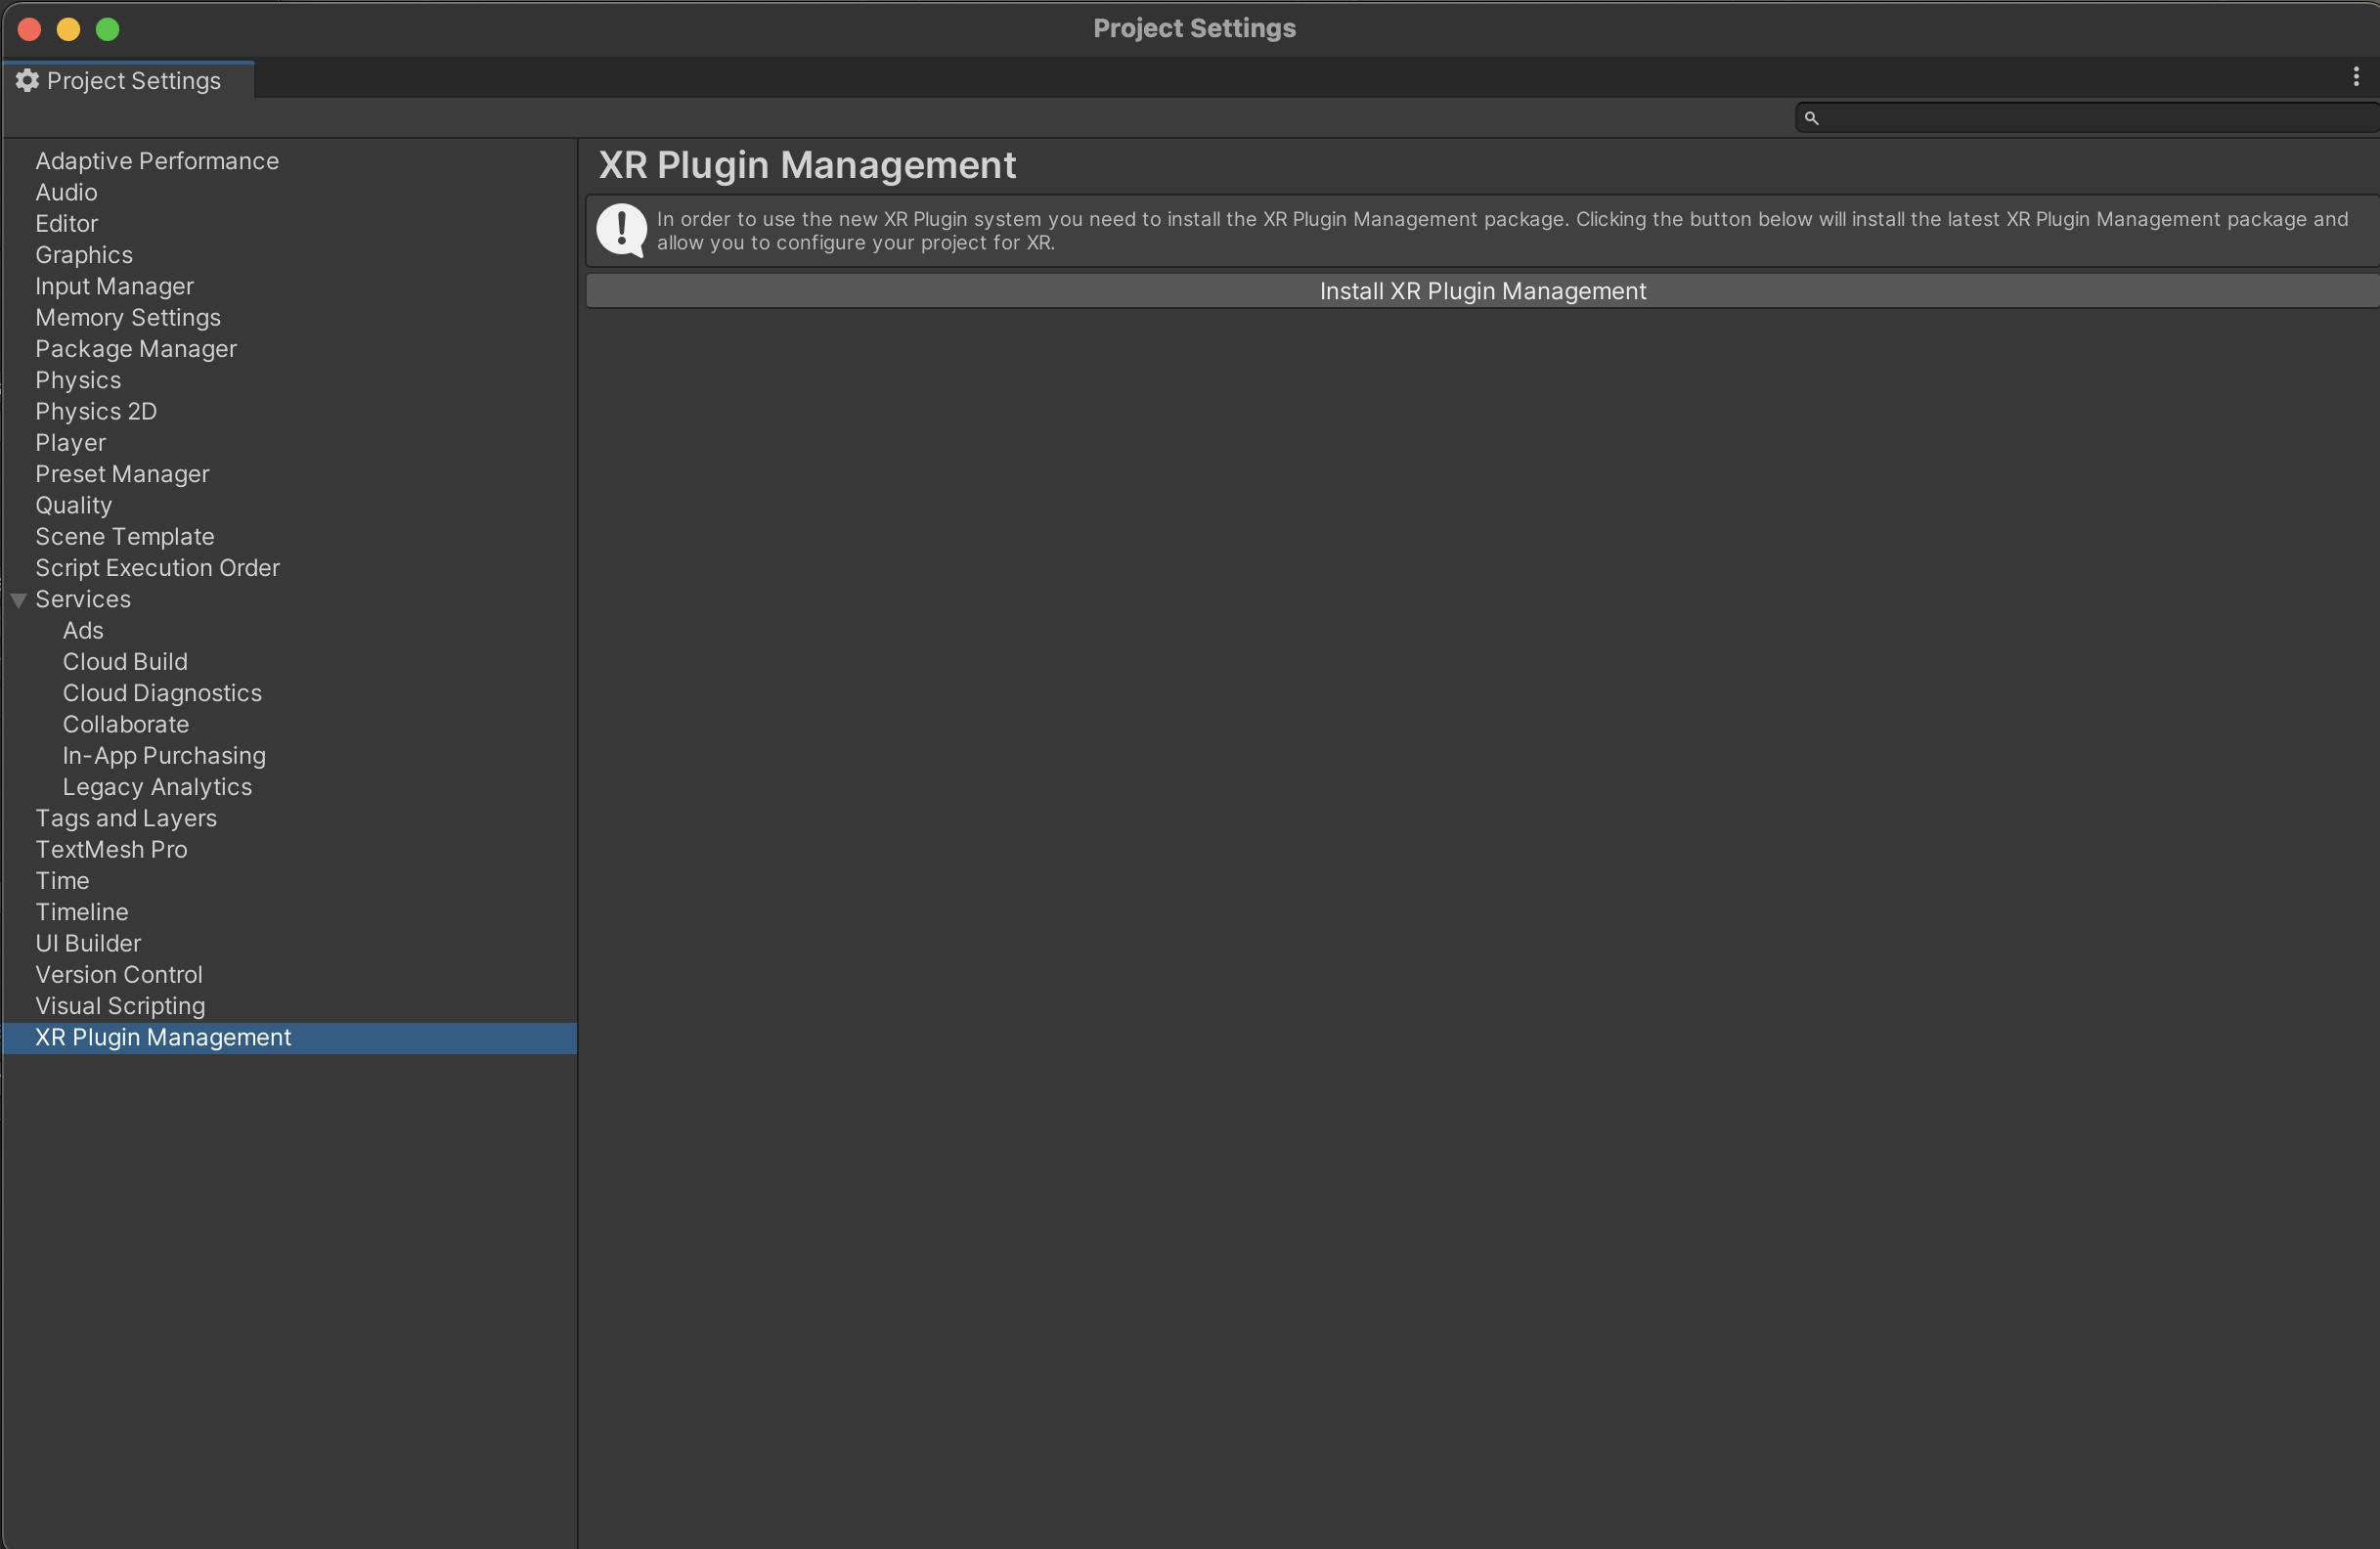
- After the installation is complete, Goto Android Tab.
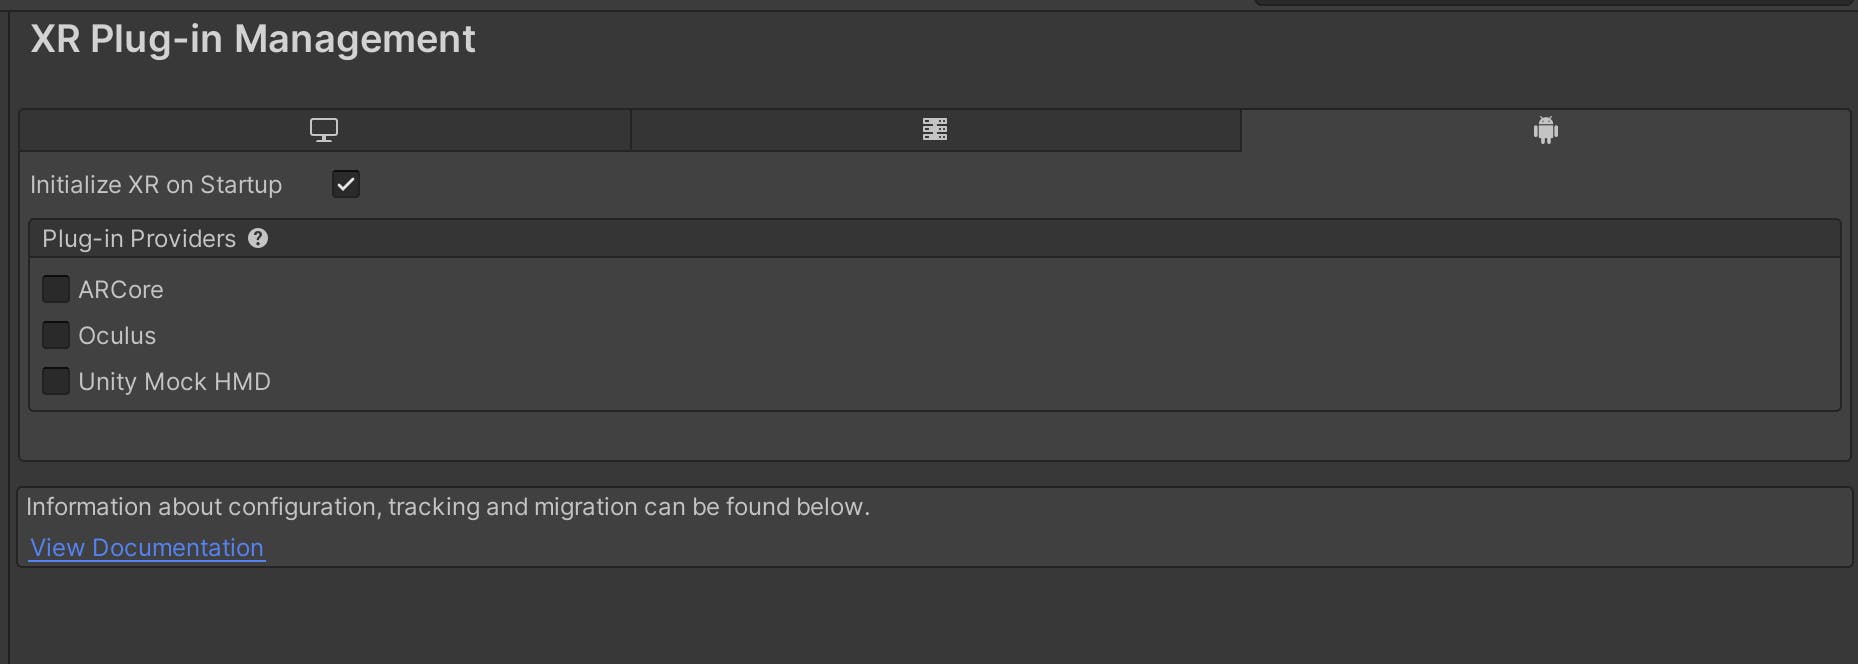
- Select Oculus as the Plug-in Providers.
Import Oculus Integration from Asset Store
In this section we will import "Oculus Integration", a free Unity asset from the Oculus team.
- Goto Asset Store
- Search for asset "Oculus Integration".
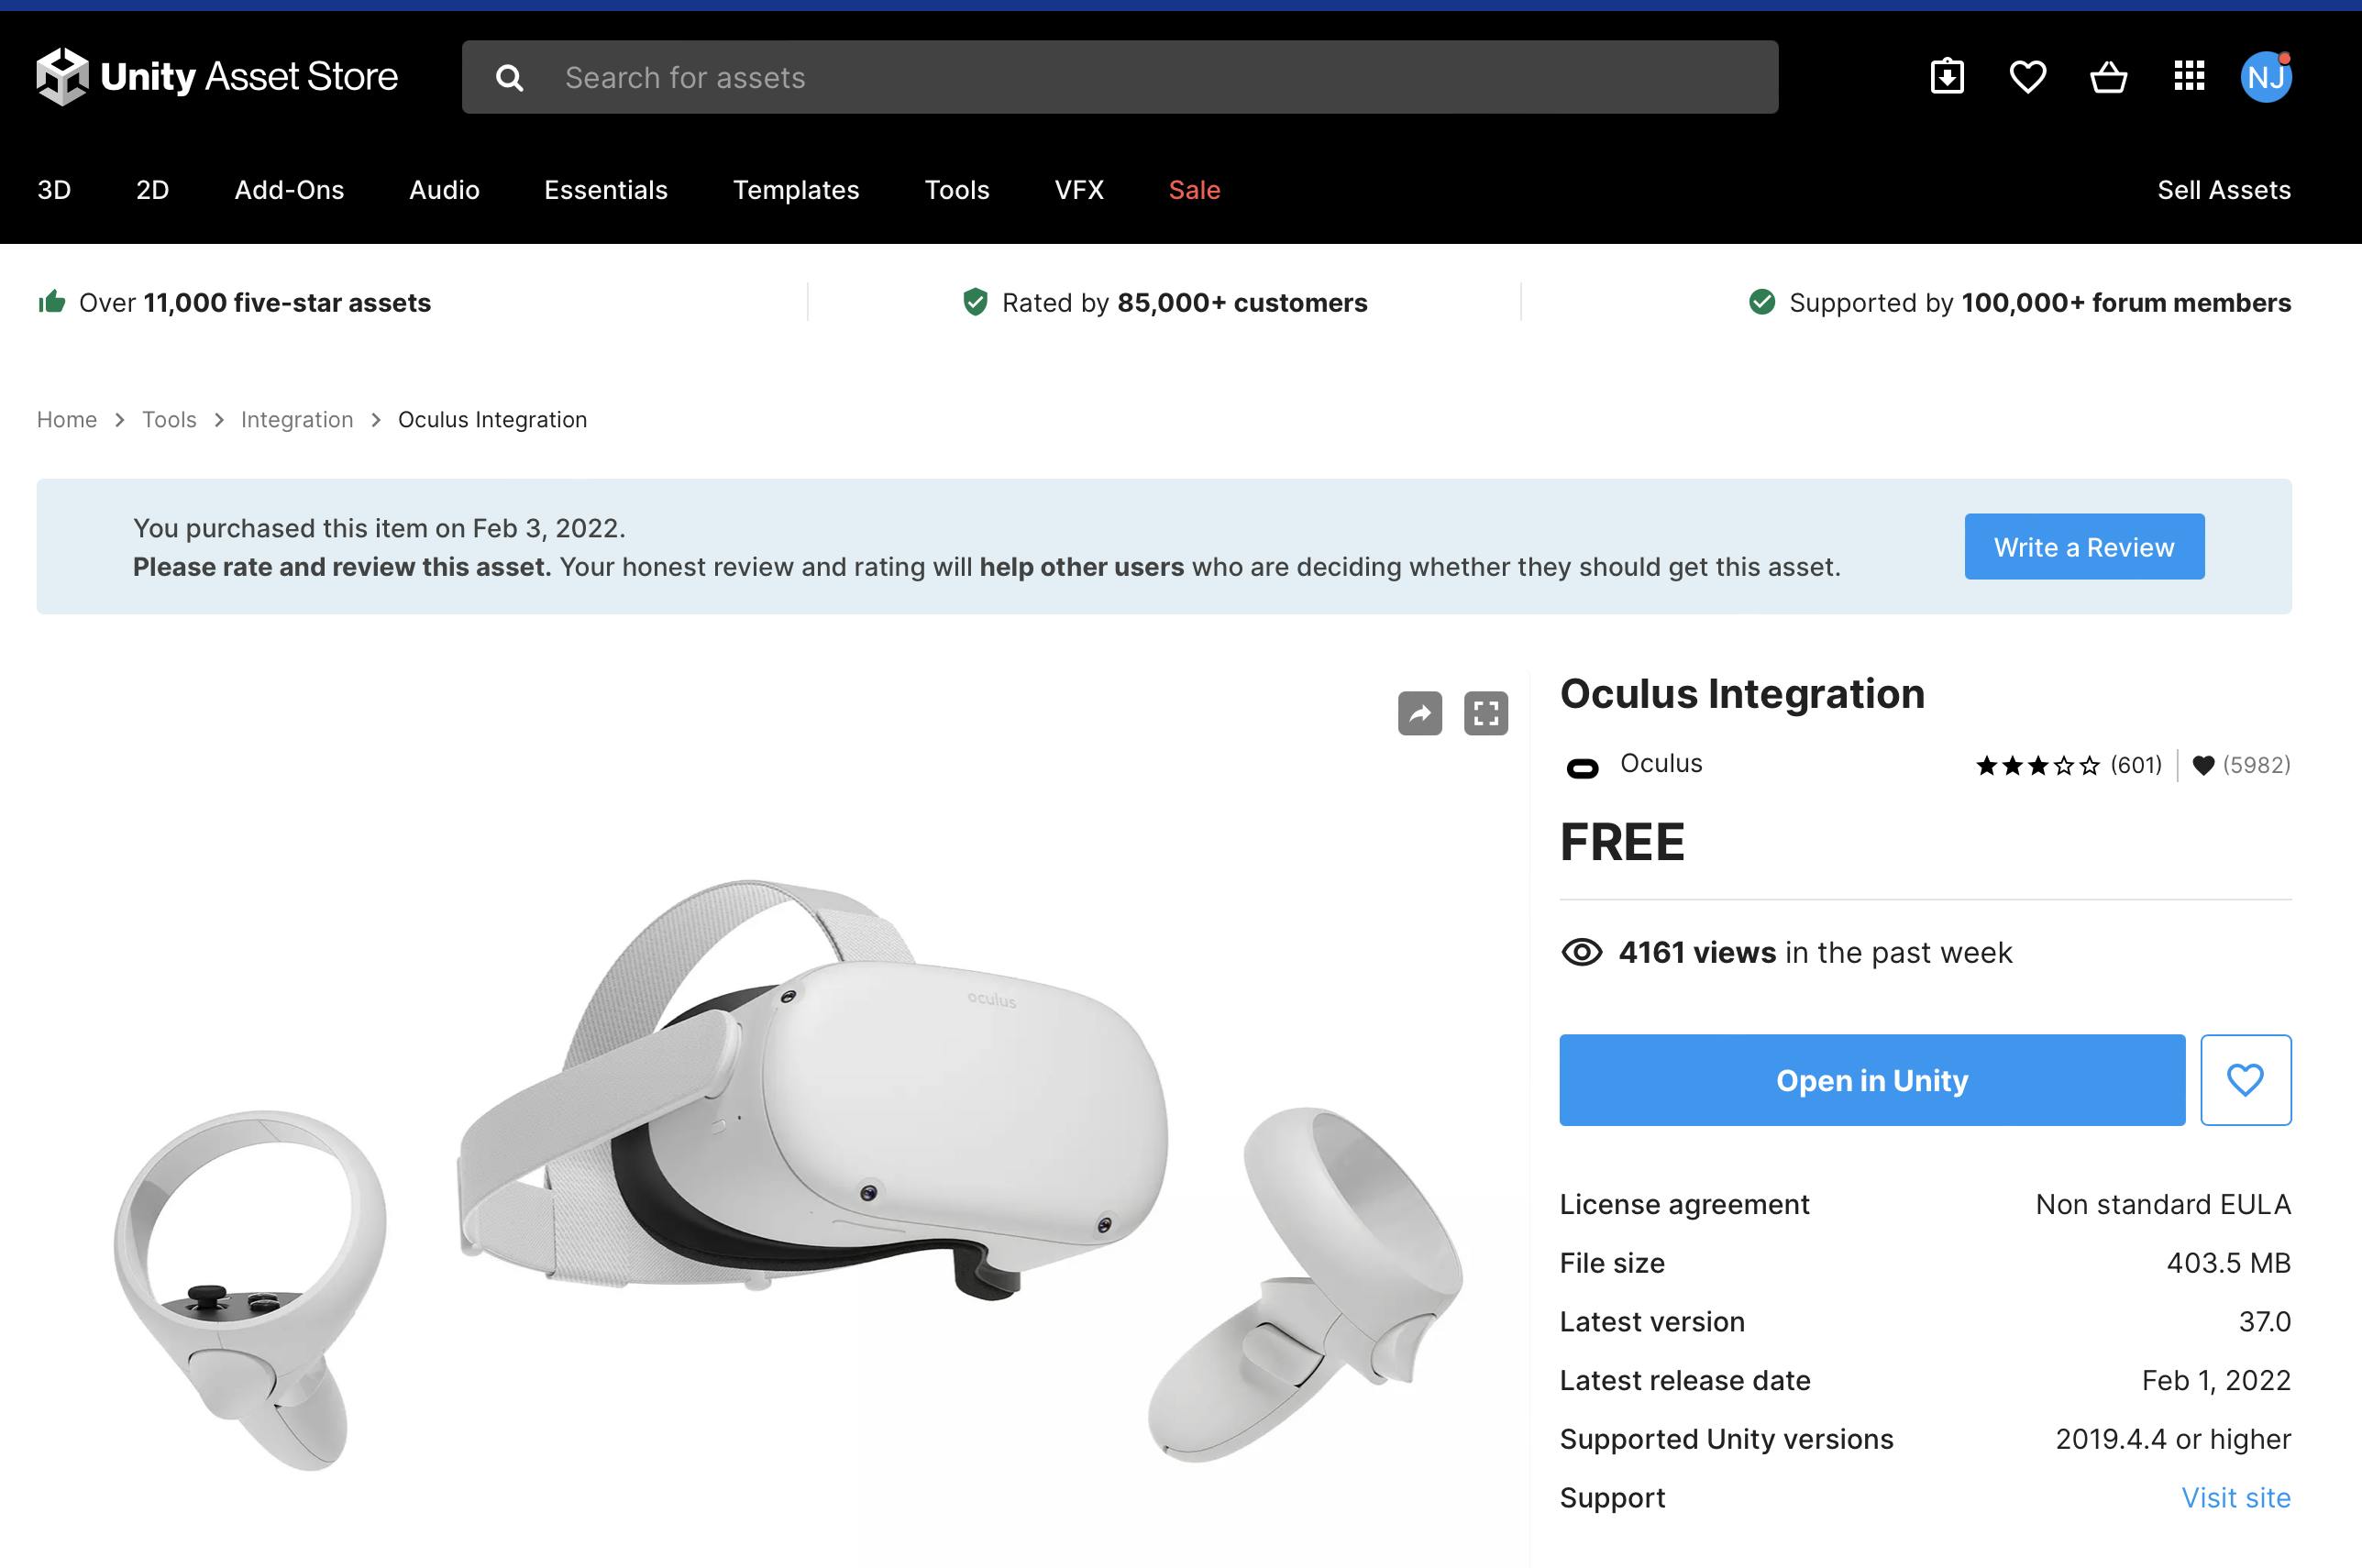
- Click on Add to My Assets
- Click on Open in Unity. This will open Package Manager in Unity.
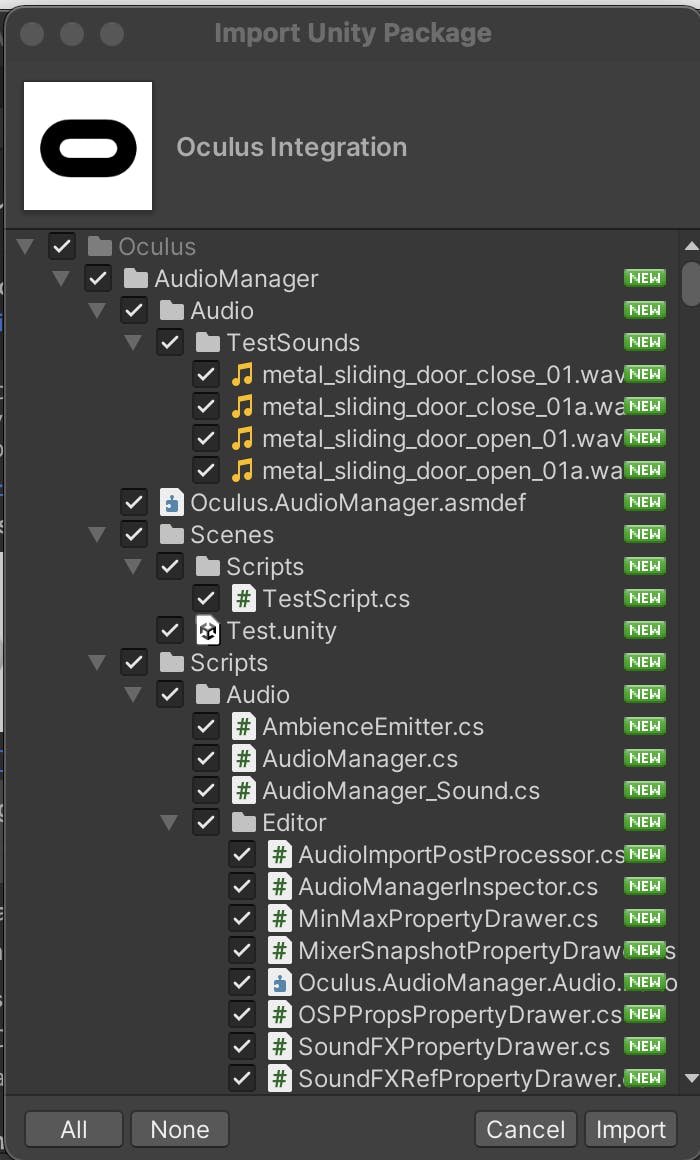
- Download and Import the above package to your project.
- Select All and click on Import.
Build and Run
- Make sure you have Connected your Oculus Quest 2 to your Mac.
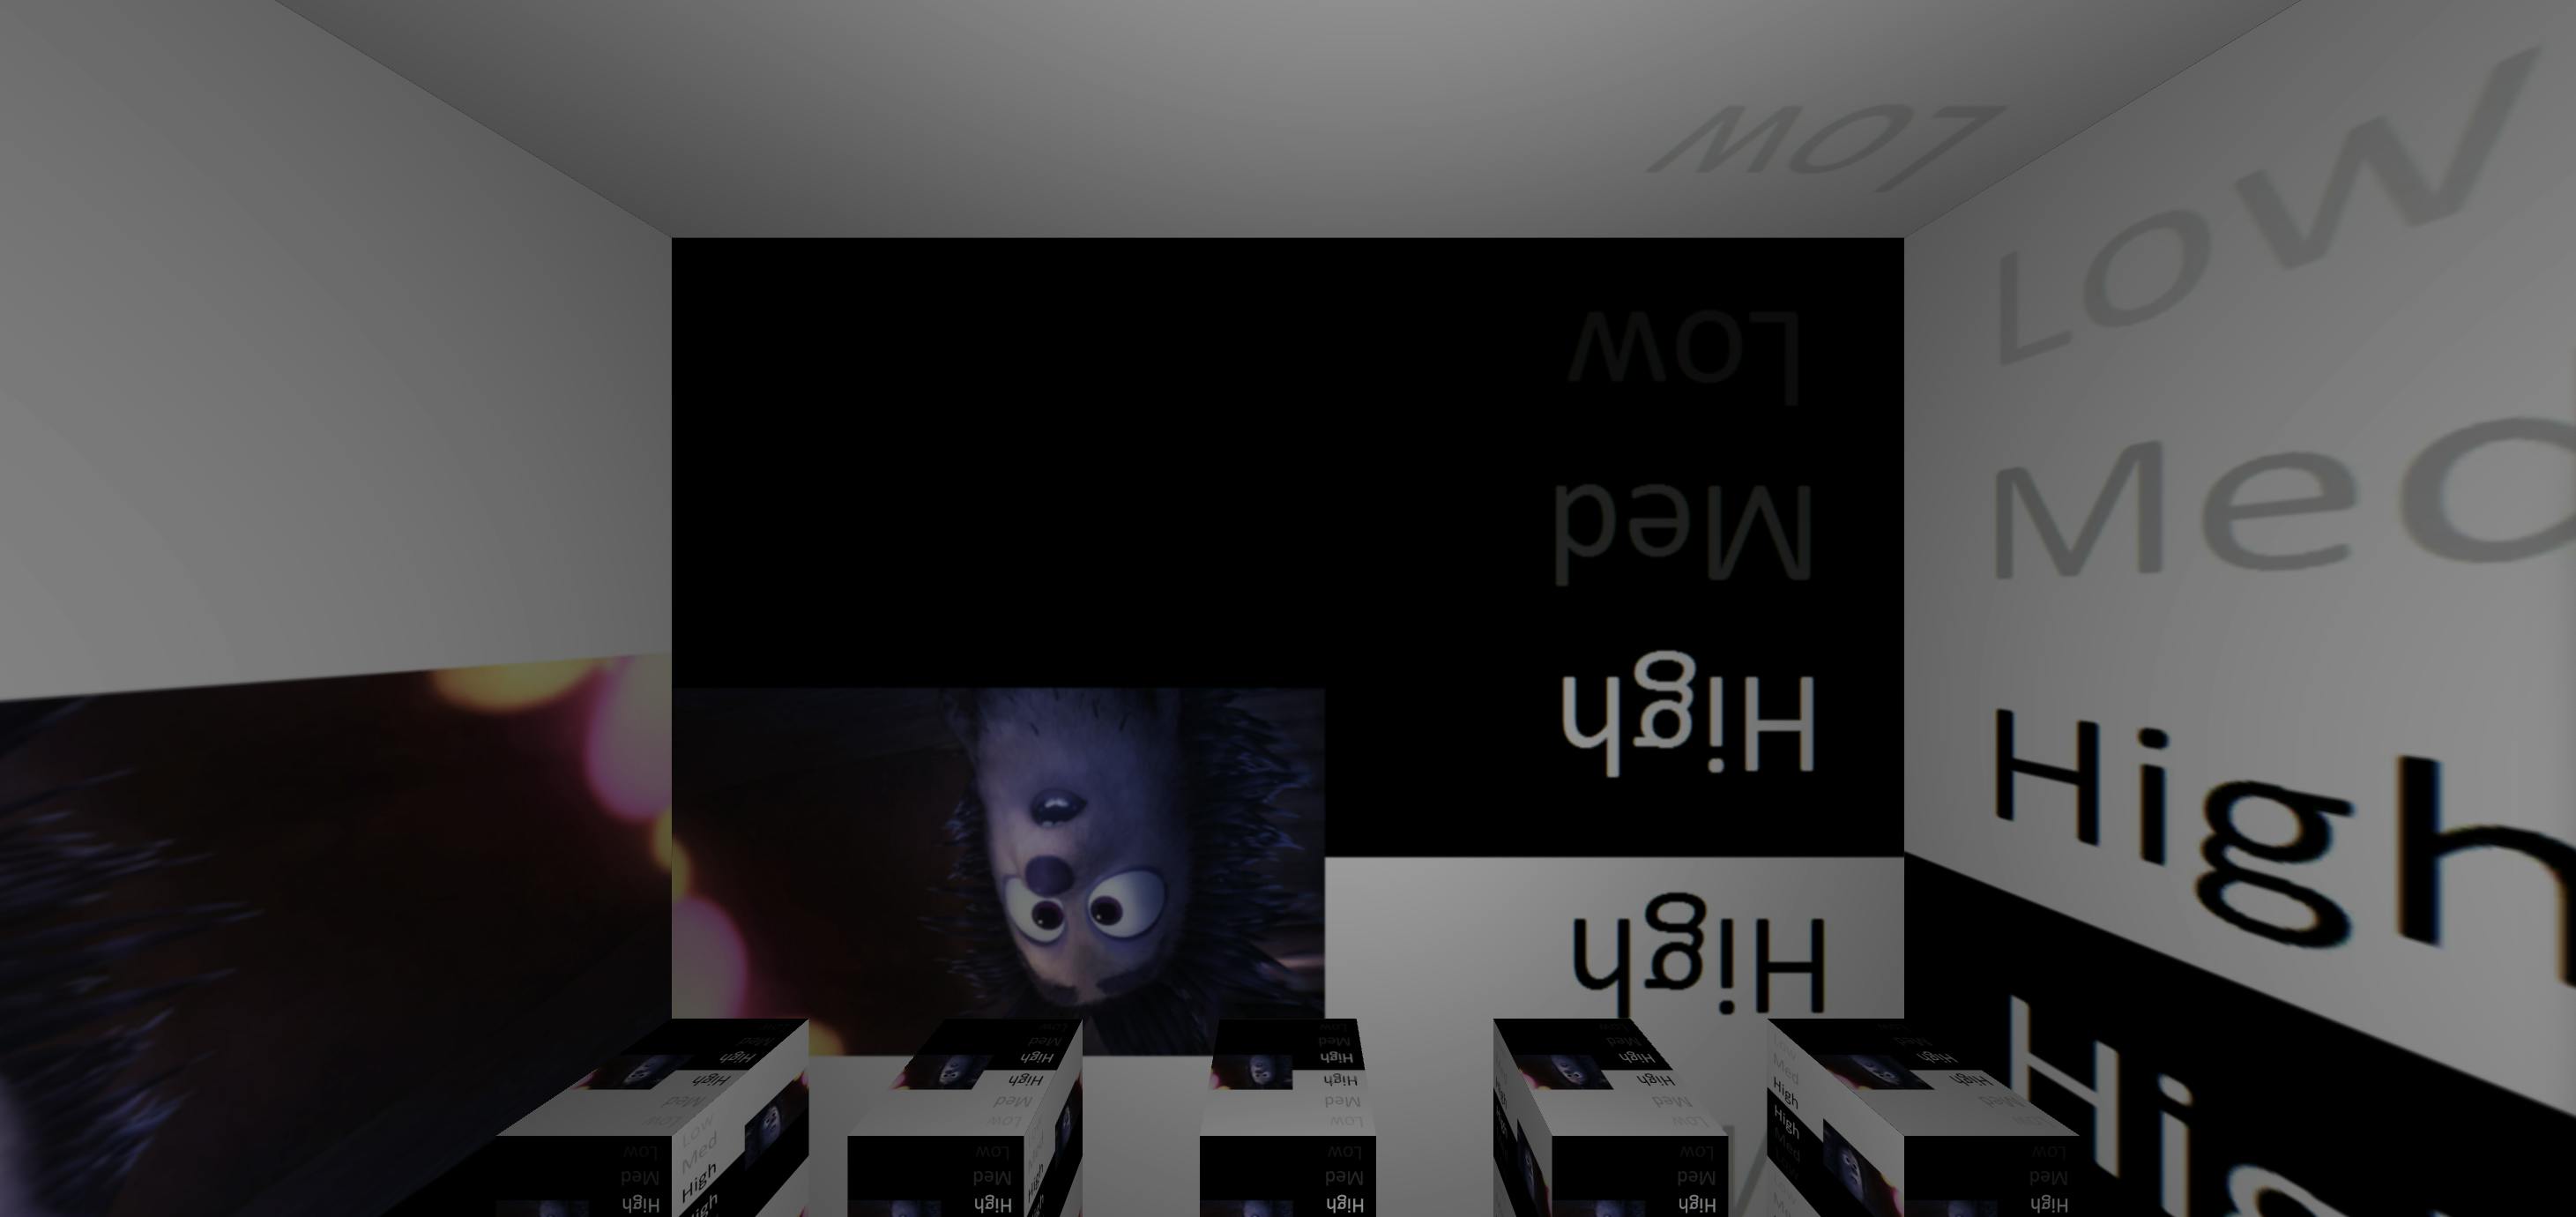
- For this tutorial open the scene Assets->Oculus->VR->Scenes->Room
- Open Build Settings.
- Click on Add Open Scenes.
- Select Android in the Platform Section.
- Click on Switch Platform.
- Select the Development Build checkbox.
- In the Run Device section select your Oculus Device.

- If everything goes right, you should see your app selected scene running in the oculus quest 2.
With's Next
Now that you have got your setup ready you can go over the tutorials available on the internet. It is a good time to get your hands dirty with the VR samples available on the net. Enjoy the XR journey.
