How to convert png to ico using free tool GIMP
As a developer sometime you will require to create windows icon file with extension ".ico". Normally you will get a png image with which you need to create the ico file. You can easily convert any png file to an ico file using GIMP. GIMP is a free software available for windows and mac.
Download and install GIMP
You can download and install GIMP from the below link. It is available for both windows and mac.
Create a new Project
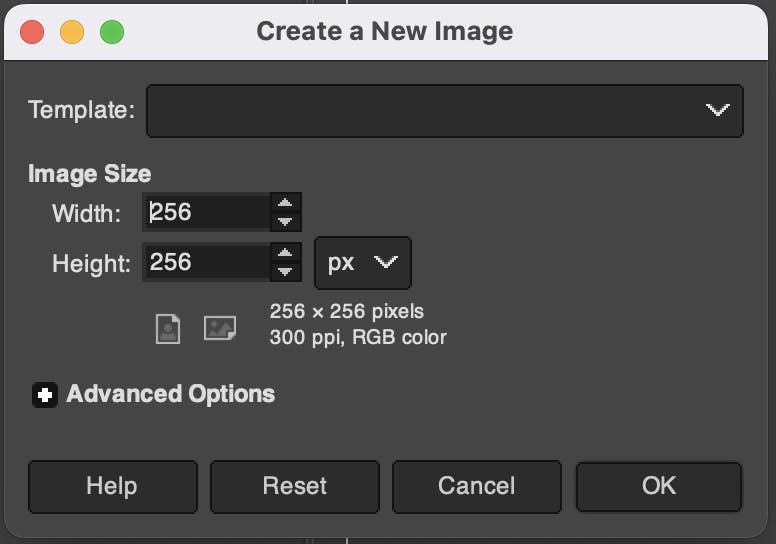
Open GIMP and go to menu File -> New. You will get a dialog, enter the height and width as 256 pixels as shown below and click on OK.

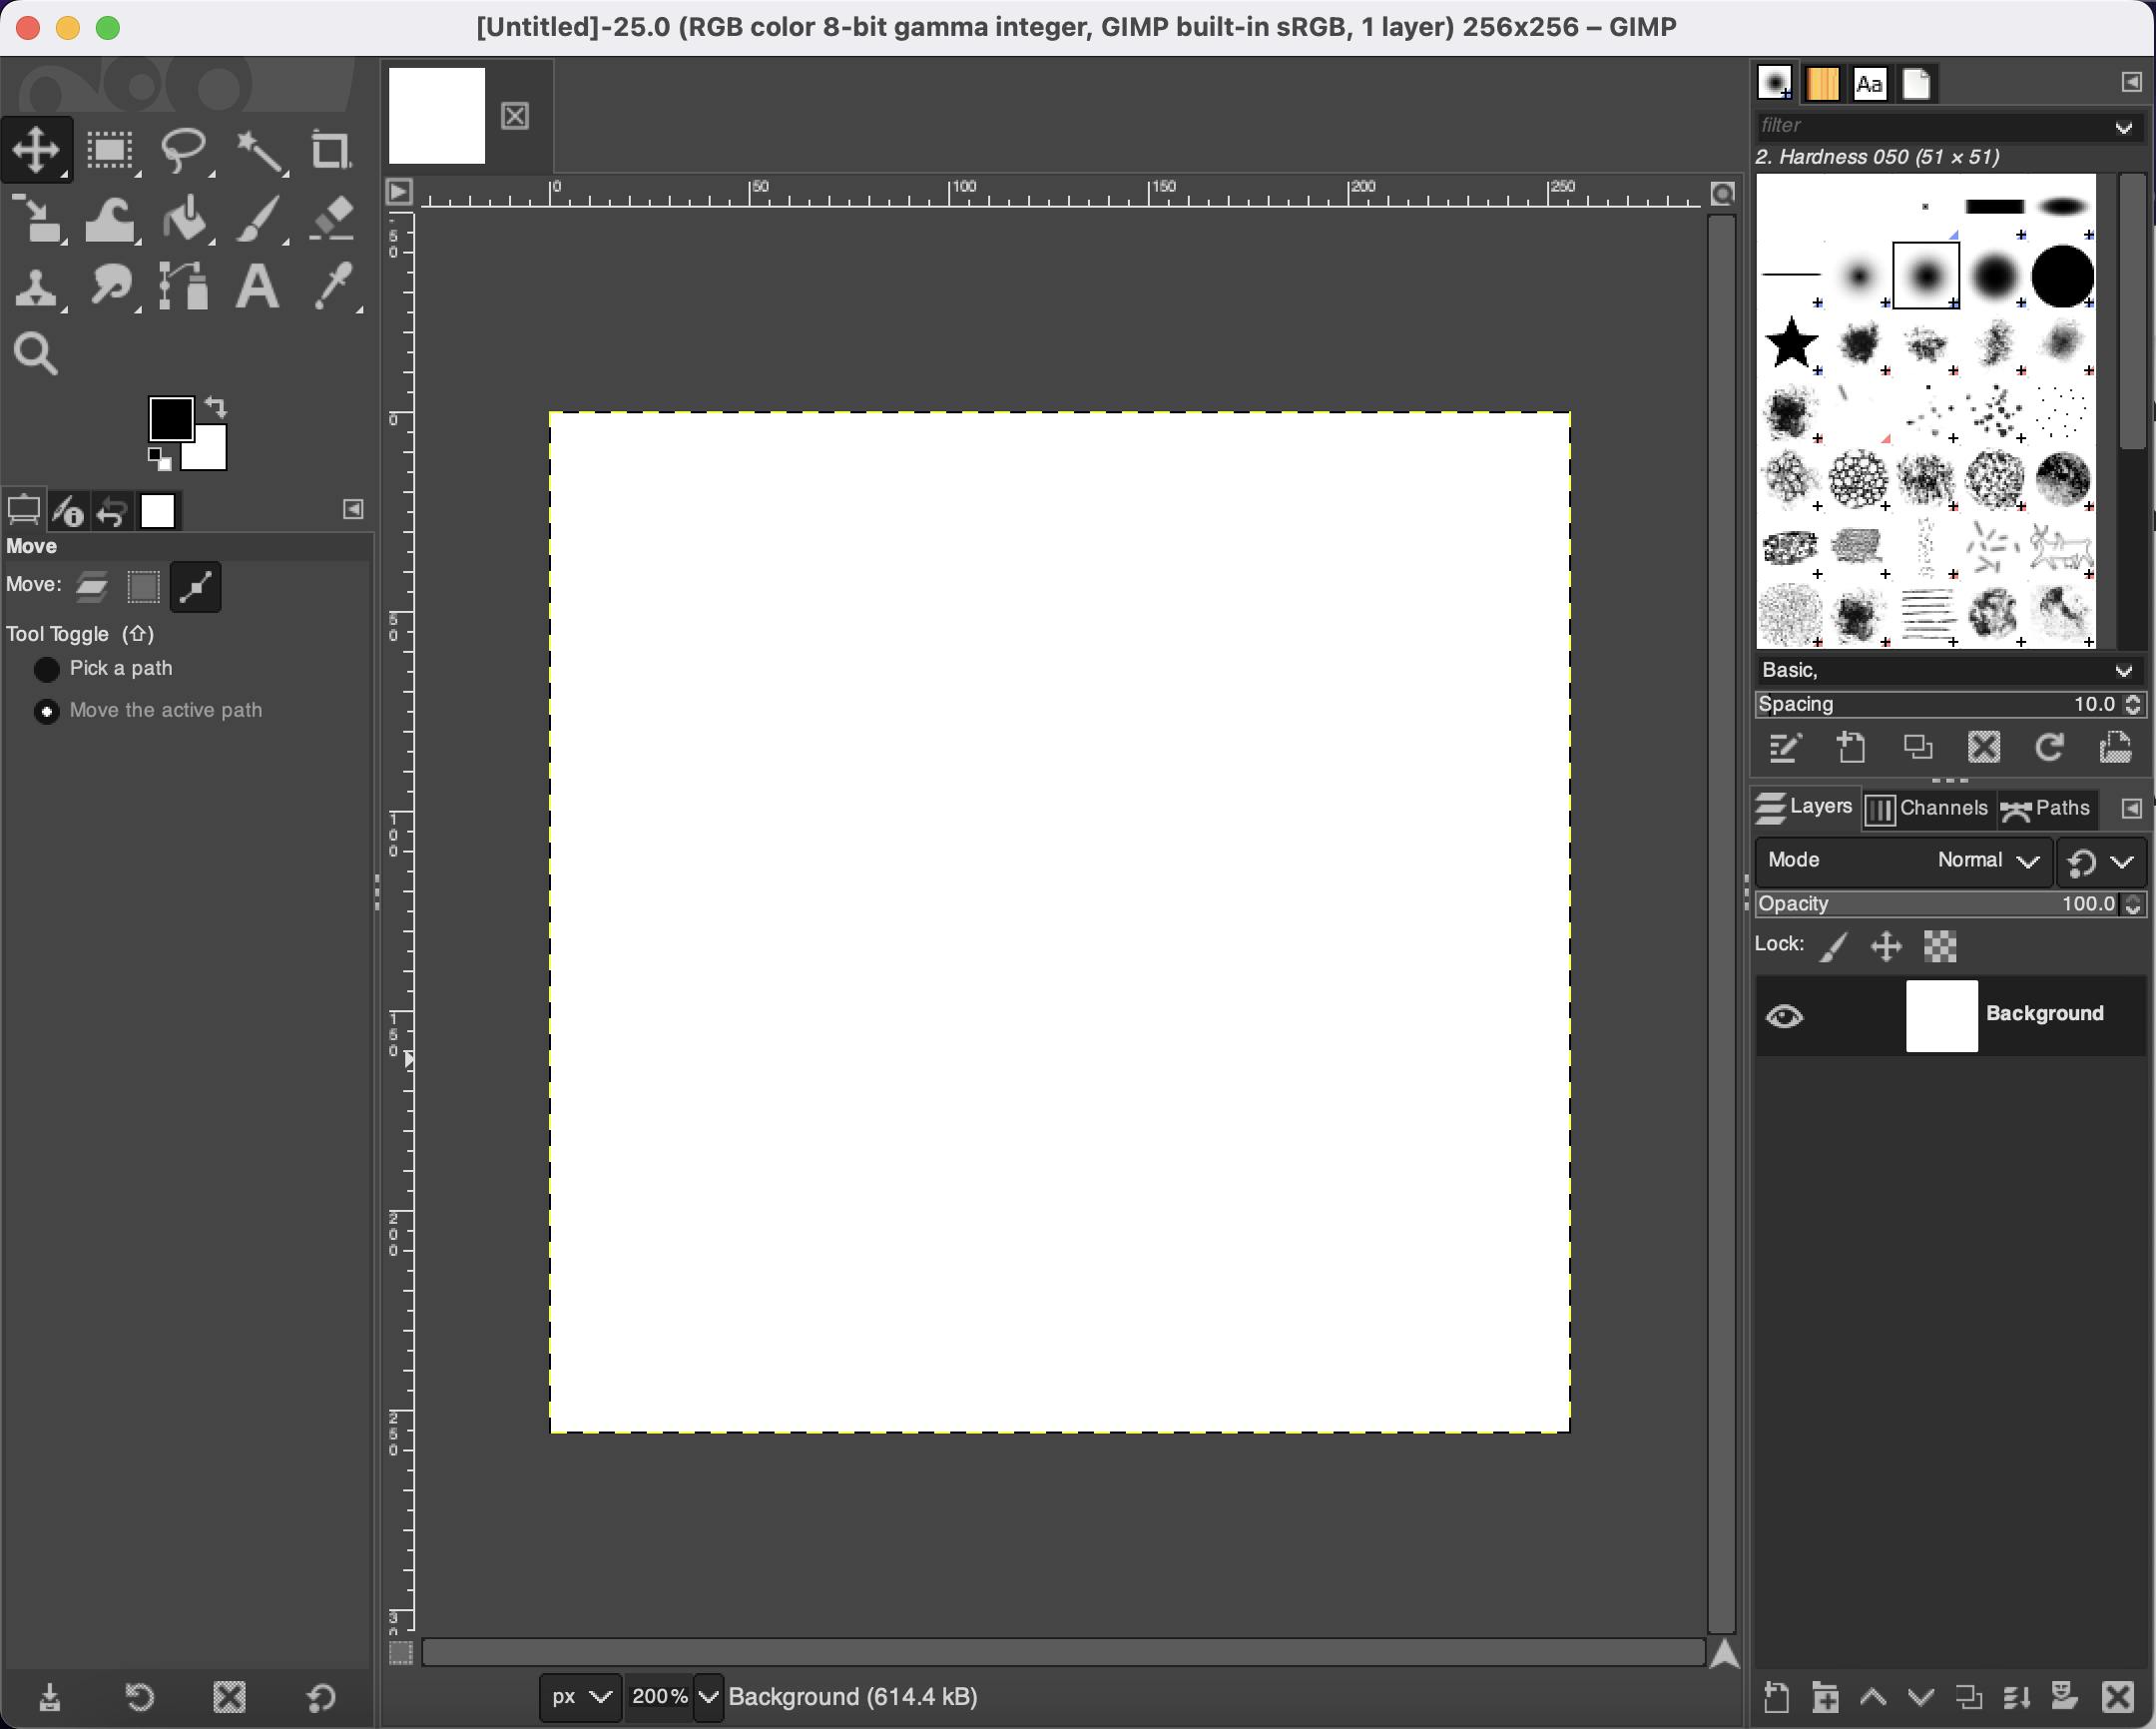
An untitled project is created. It will contain a default layer with white background.

Importing the PNG
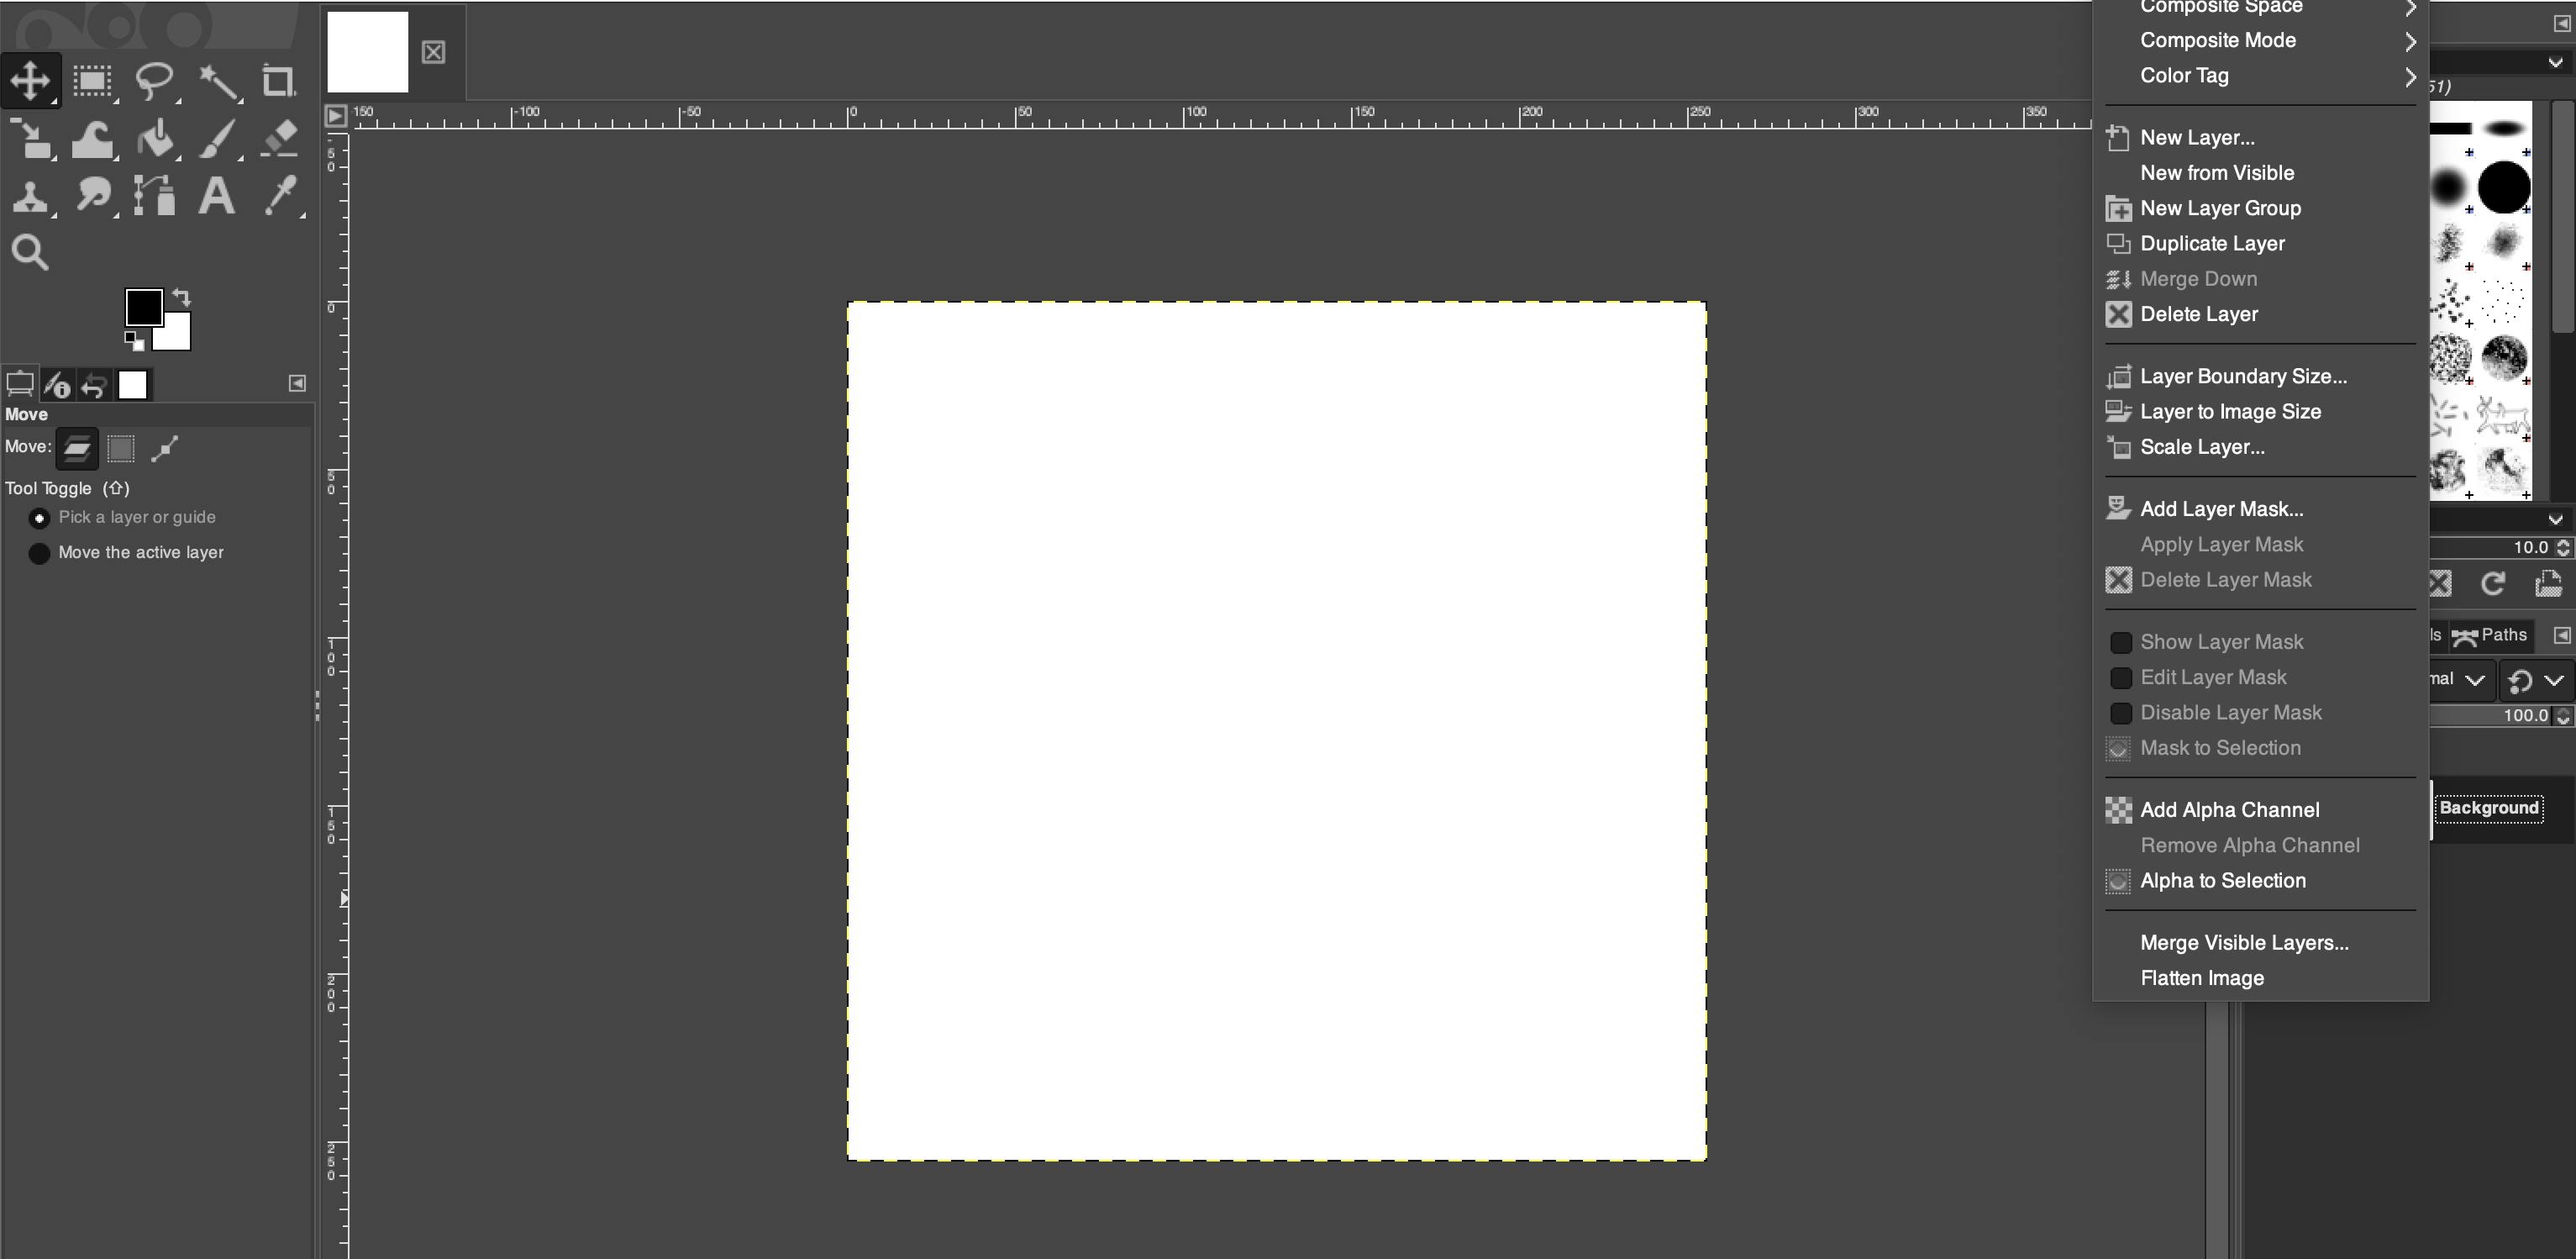
Before importing delete the white background layer. To delete the layer right click on the layer and select Delete Layer.

Now the canvas will have a transparent background.
Drag the PNG file onto the canvas. Use the move and scale tool to fit the image exactly inside the canvas. Make sure the image is centered inside the canvas.

Preparing the Layers for different sizes
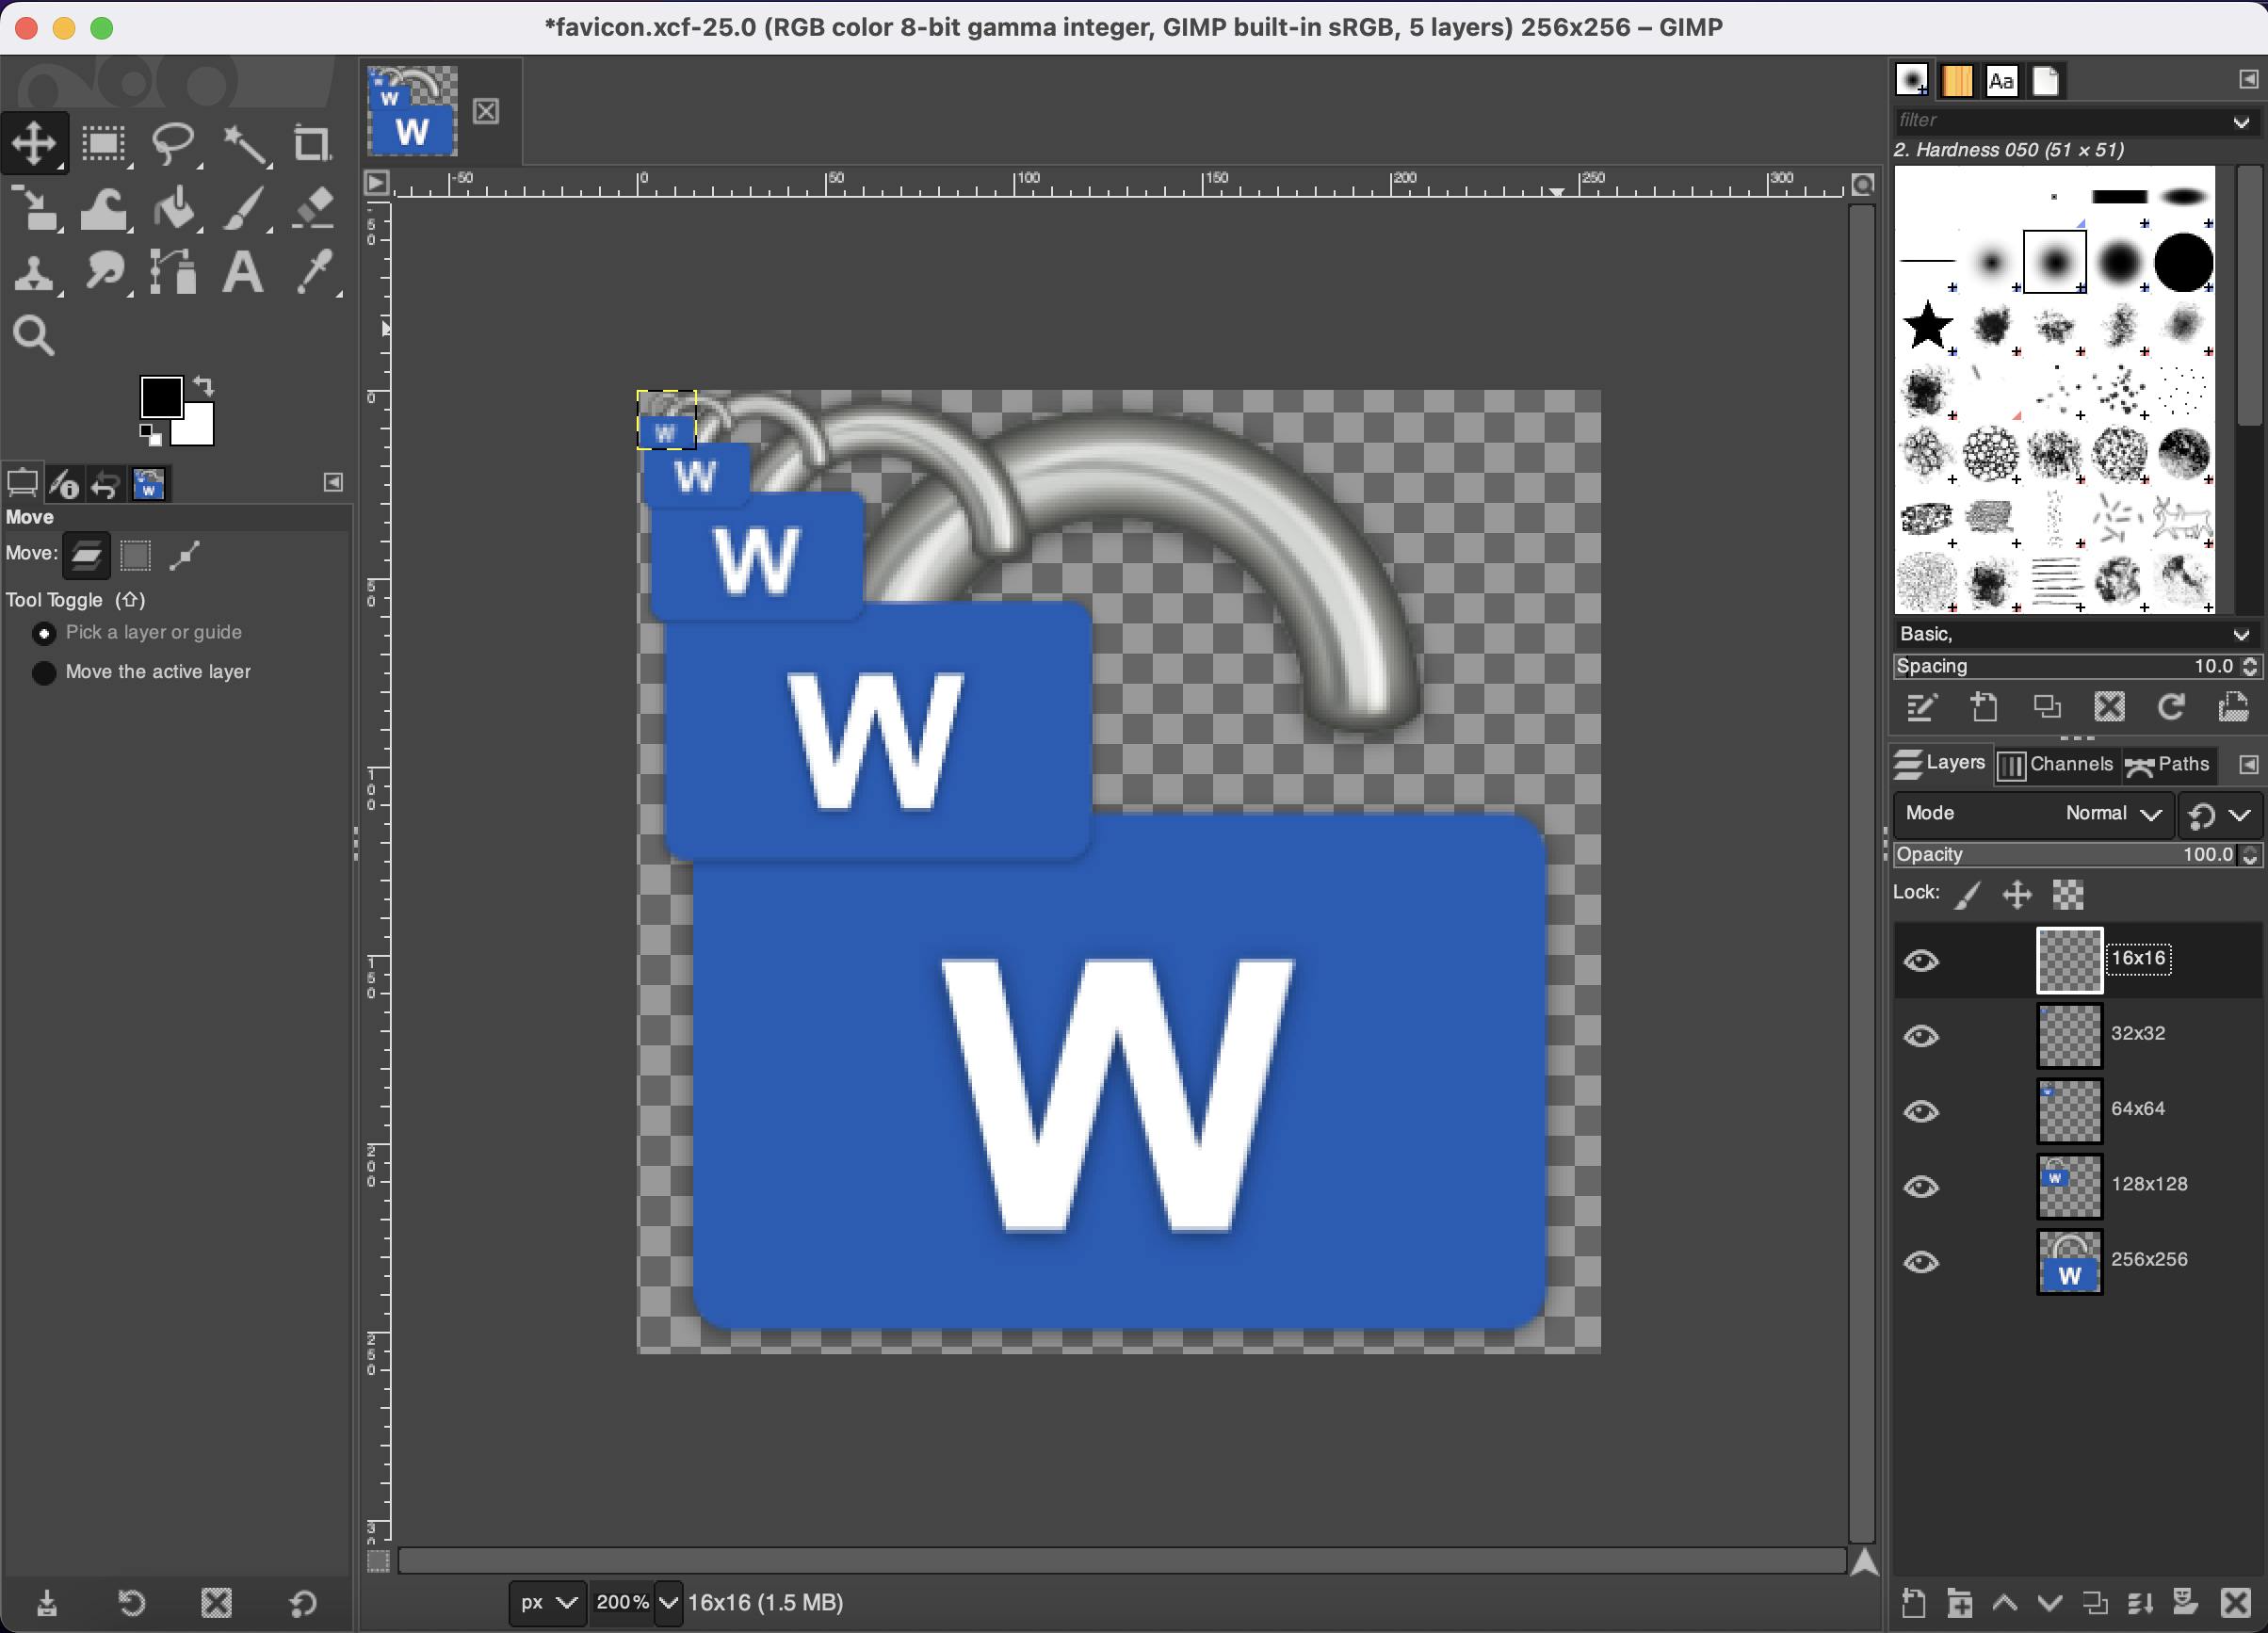
Rename the existing layer as 256x256.
Duplicate the layer and decrease the size of the new layer to 128x128. Make sure the top-left of the layer is aligned to top-left of the canvas. Rename the new layer as 128x128.
Repeat the above 3 steps for 64x64, 32x32 and 16x16.
Once you are done, your project would look something like below:

Exporting to ICO file
Goto File->Export. A dialog window should open up. Enter the filename. Select File Type as Microsoft Windows Icon (ico) Click on Export button.
A warning might show up saying that large icons are not supported by all programs. You can ignore the warning and click on Export.
That's it you have now converted your PNG file into ICO file without using any paid or online tools.